OCD
Name
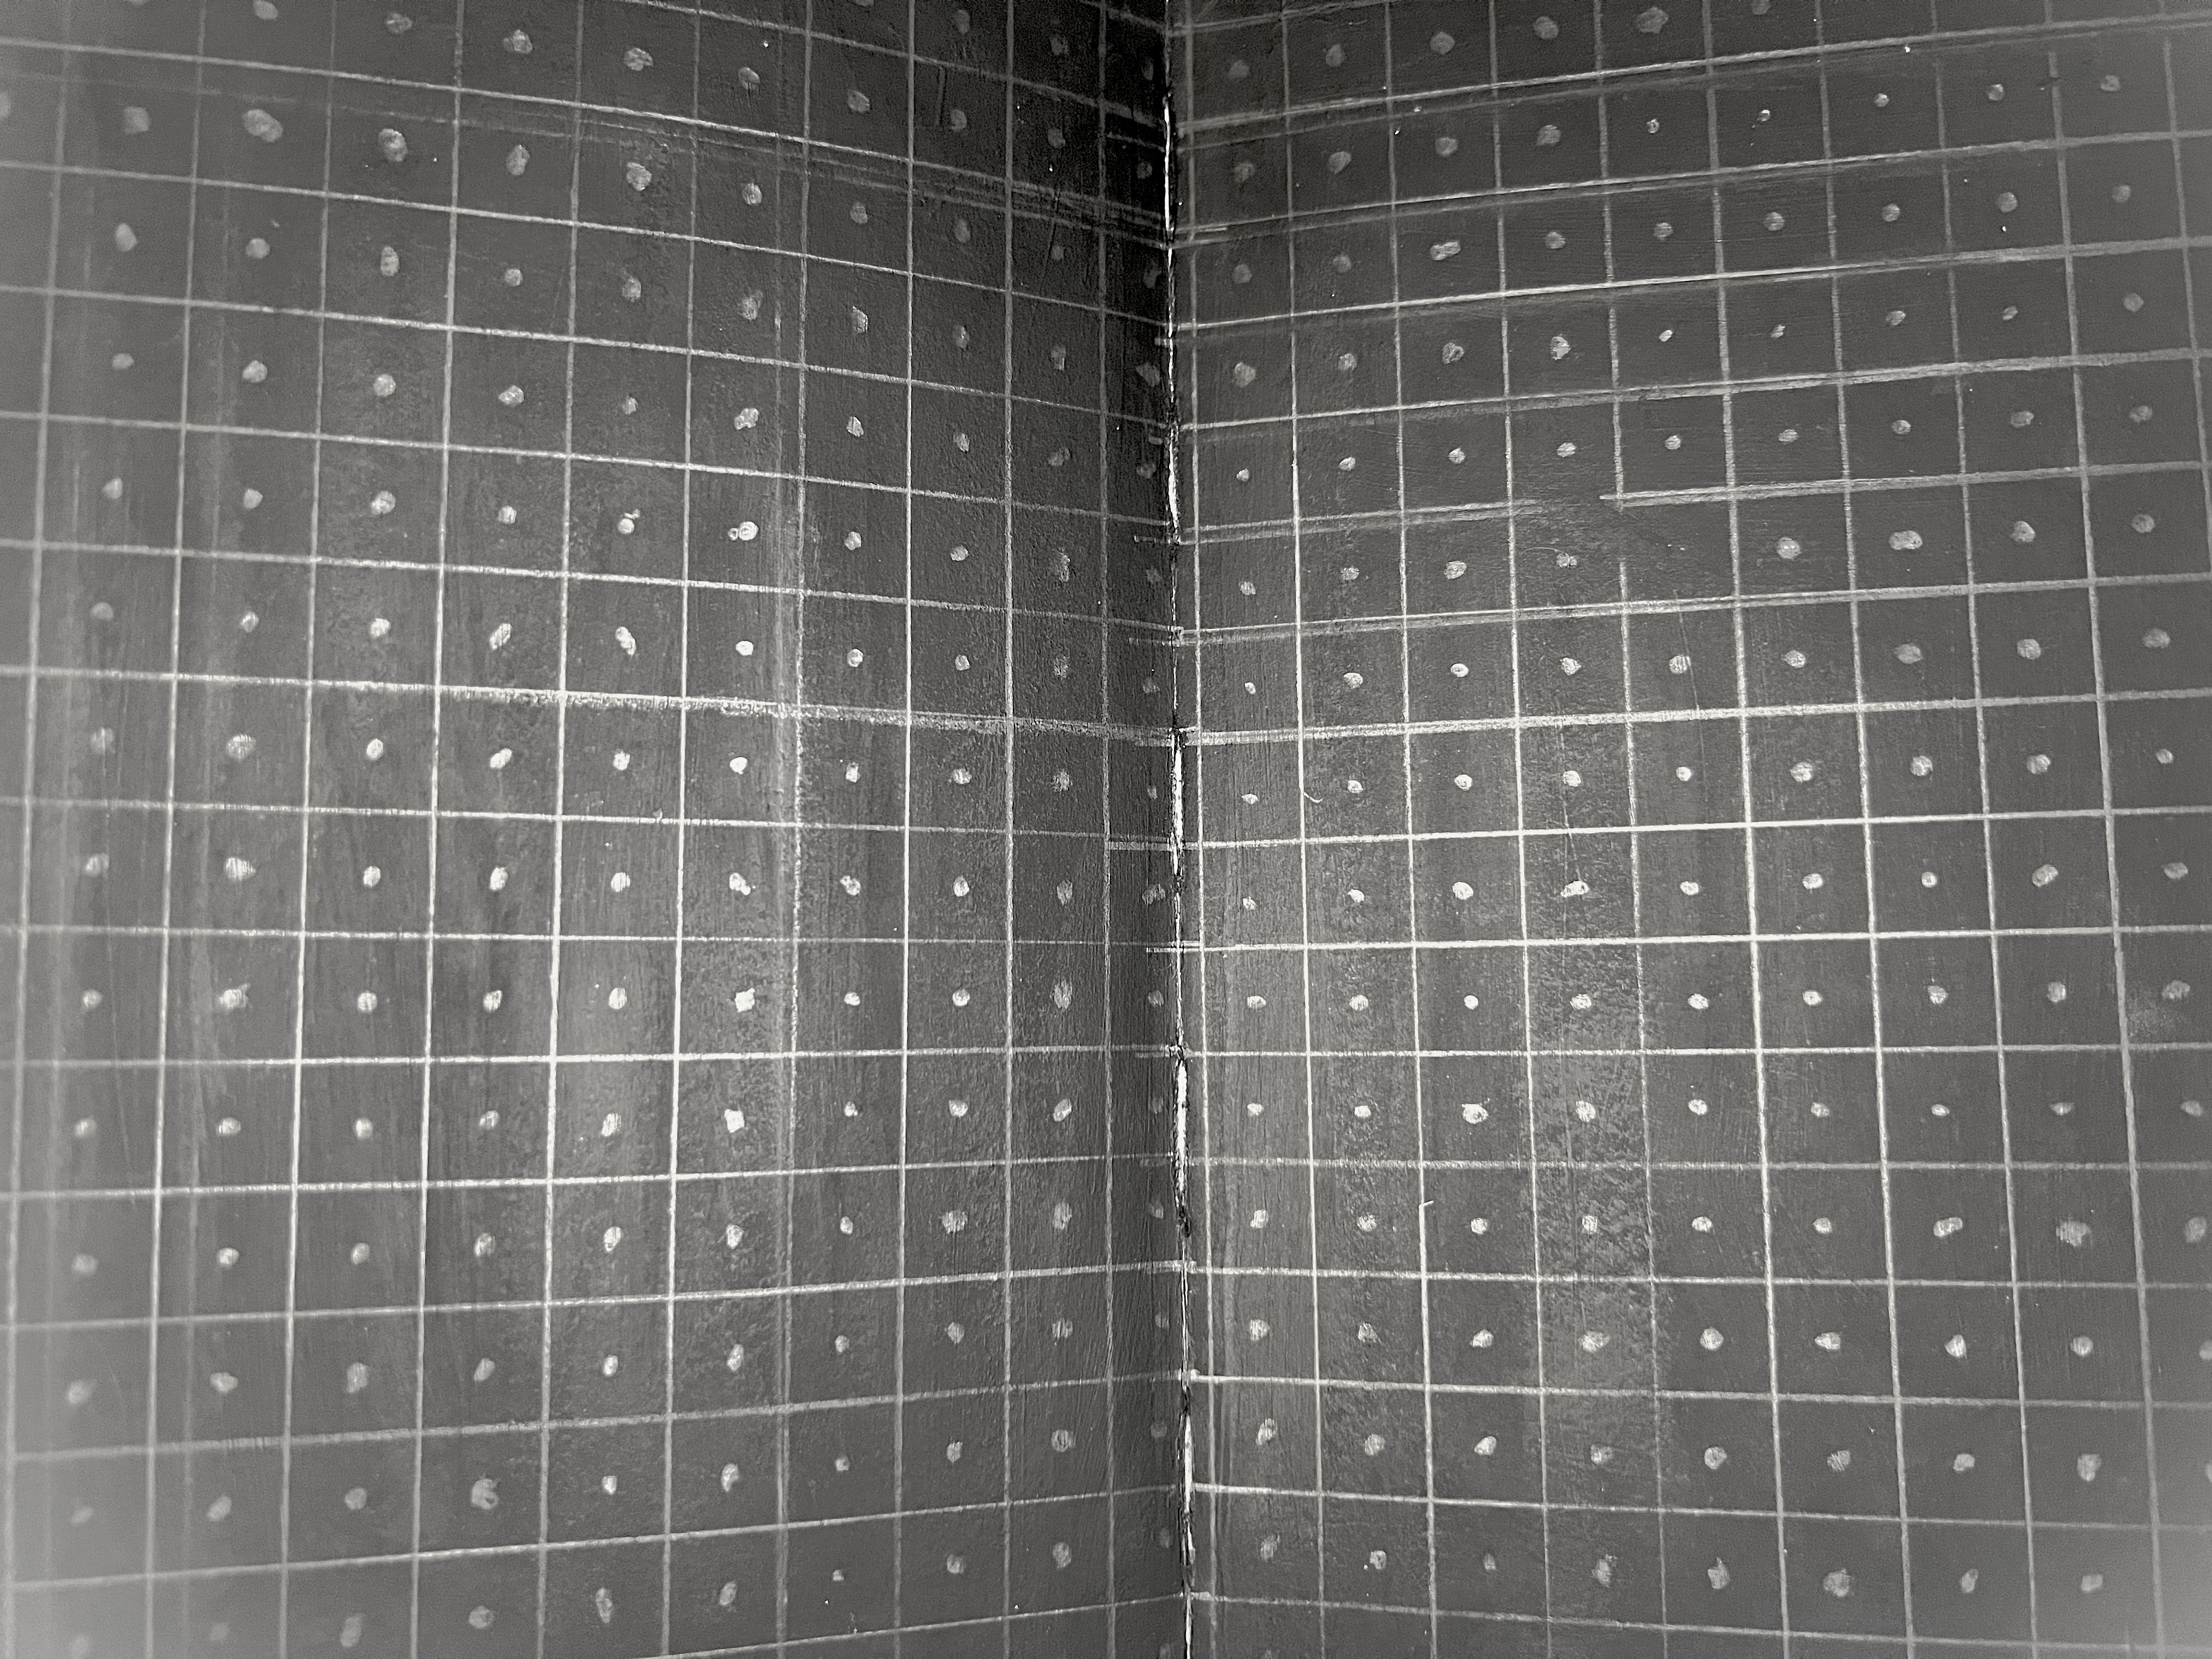
*(placeholder image)*  Reflection
Meaning: No matter how meticulous I am, I will always, always make mistakes. Things can never be perfect.
I tried so hard, and got so far...
But in the end, it doesn’t even matter. I can’t stop the imperfections. I can’t control them either. My goal is to appreciate the whole instead of nitpicking the details.
Creative Workbook
Description
Size: A4 (A5 spread)
Started: March 2026
Finished: In-Progress
Started: March 2026
Finished: In-Progress
I want to paint tiles. I like the visual.
Planning Notes
- After doing the acrylic marker on the Strathmore Black Mixed Media Paper, I kept thinking it looked like cute, rounded tile, and it made me want to create a wall of colorful tile.
!400 - I’ve struggled with brick in the past because I will do the guidelines and paint the entire box without room for grout, thinking I could add grout after. I can but it’s annoying. I need a way to make smaller boxes inside the guidelines. I always make them wonky, how do I make them the same?
- The Strathmore black swatch card looks like it’s got rounded tiles because I didn’t fill the whole square with ink. How do I mimic that?
Progress Notes
- I started to do this project in my Home Page, painted the black gesso and drew a 0.5 in grid (same size as the swatches in my Swatchpedia). From previous experiences, I wanted to very specifically have nice, even, similar tiles. I always mess up the size and spacing. So I drew the grid and decided to draw the squares inside.
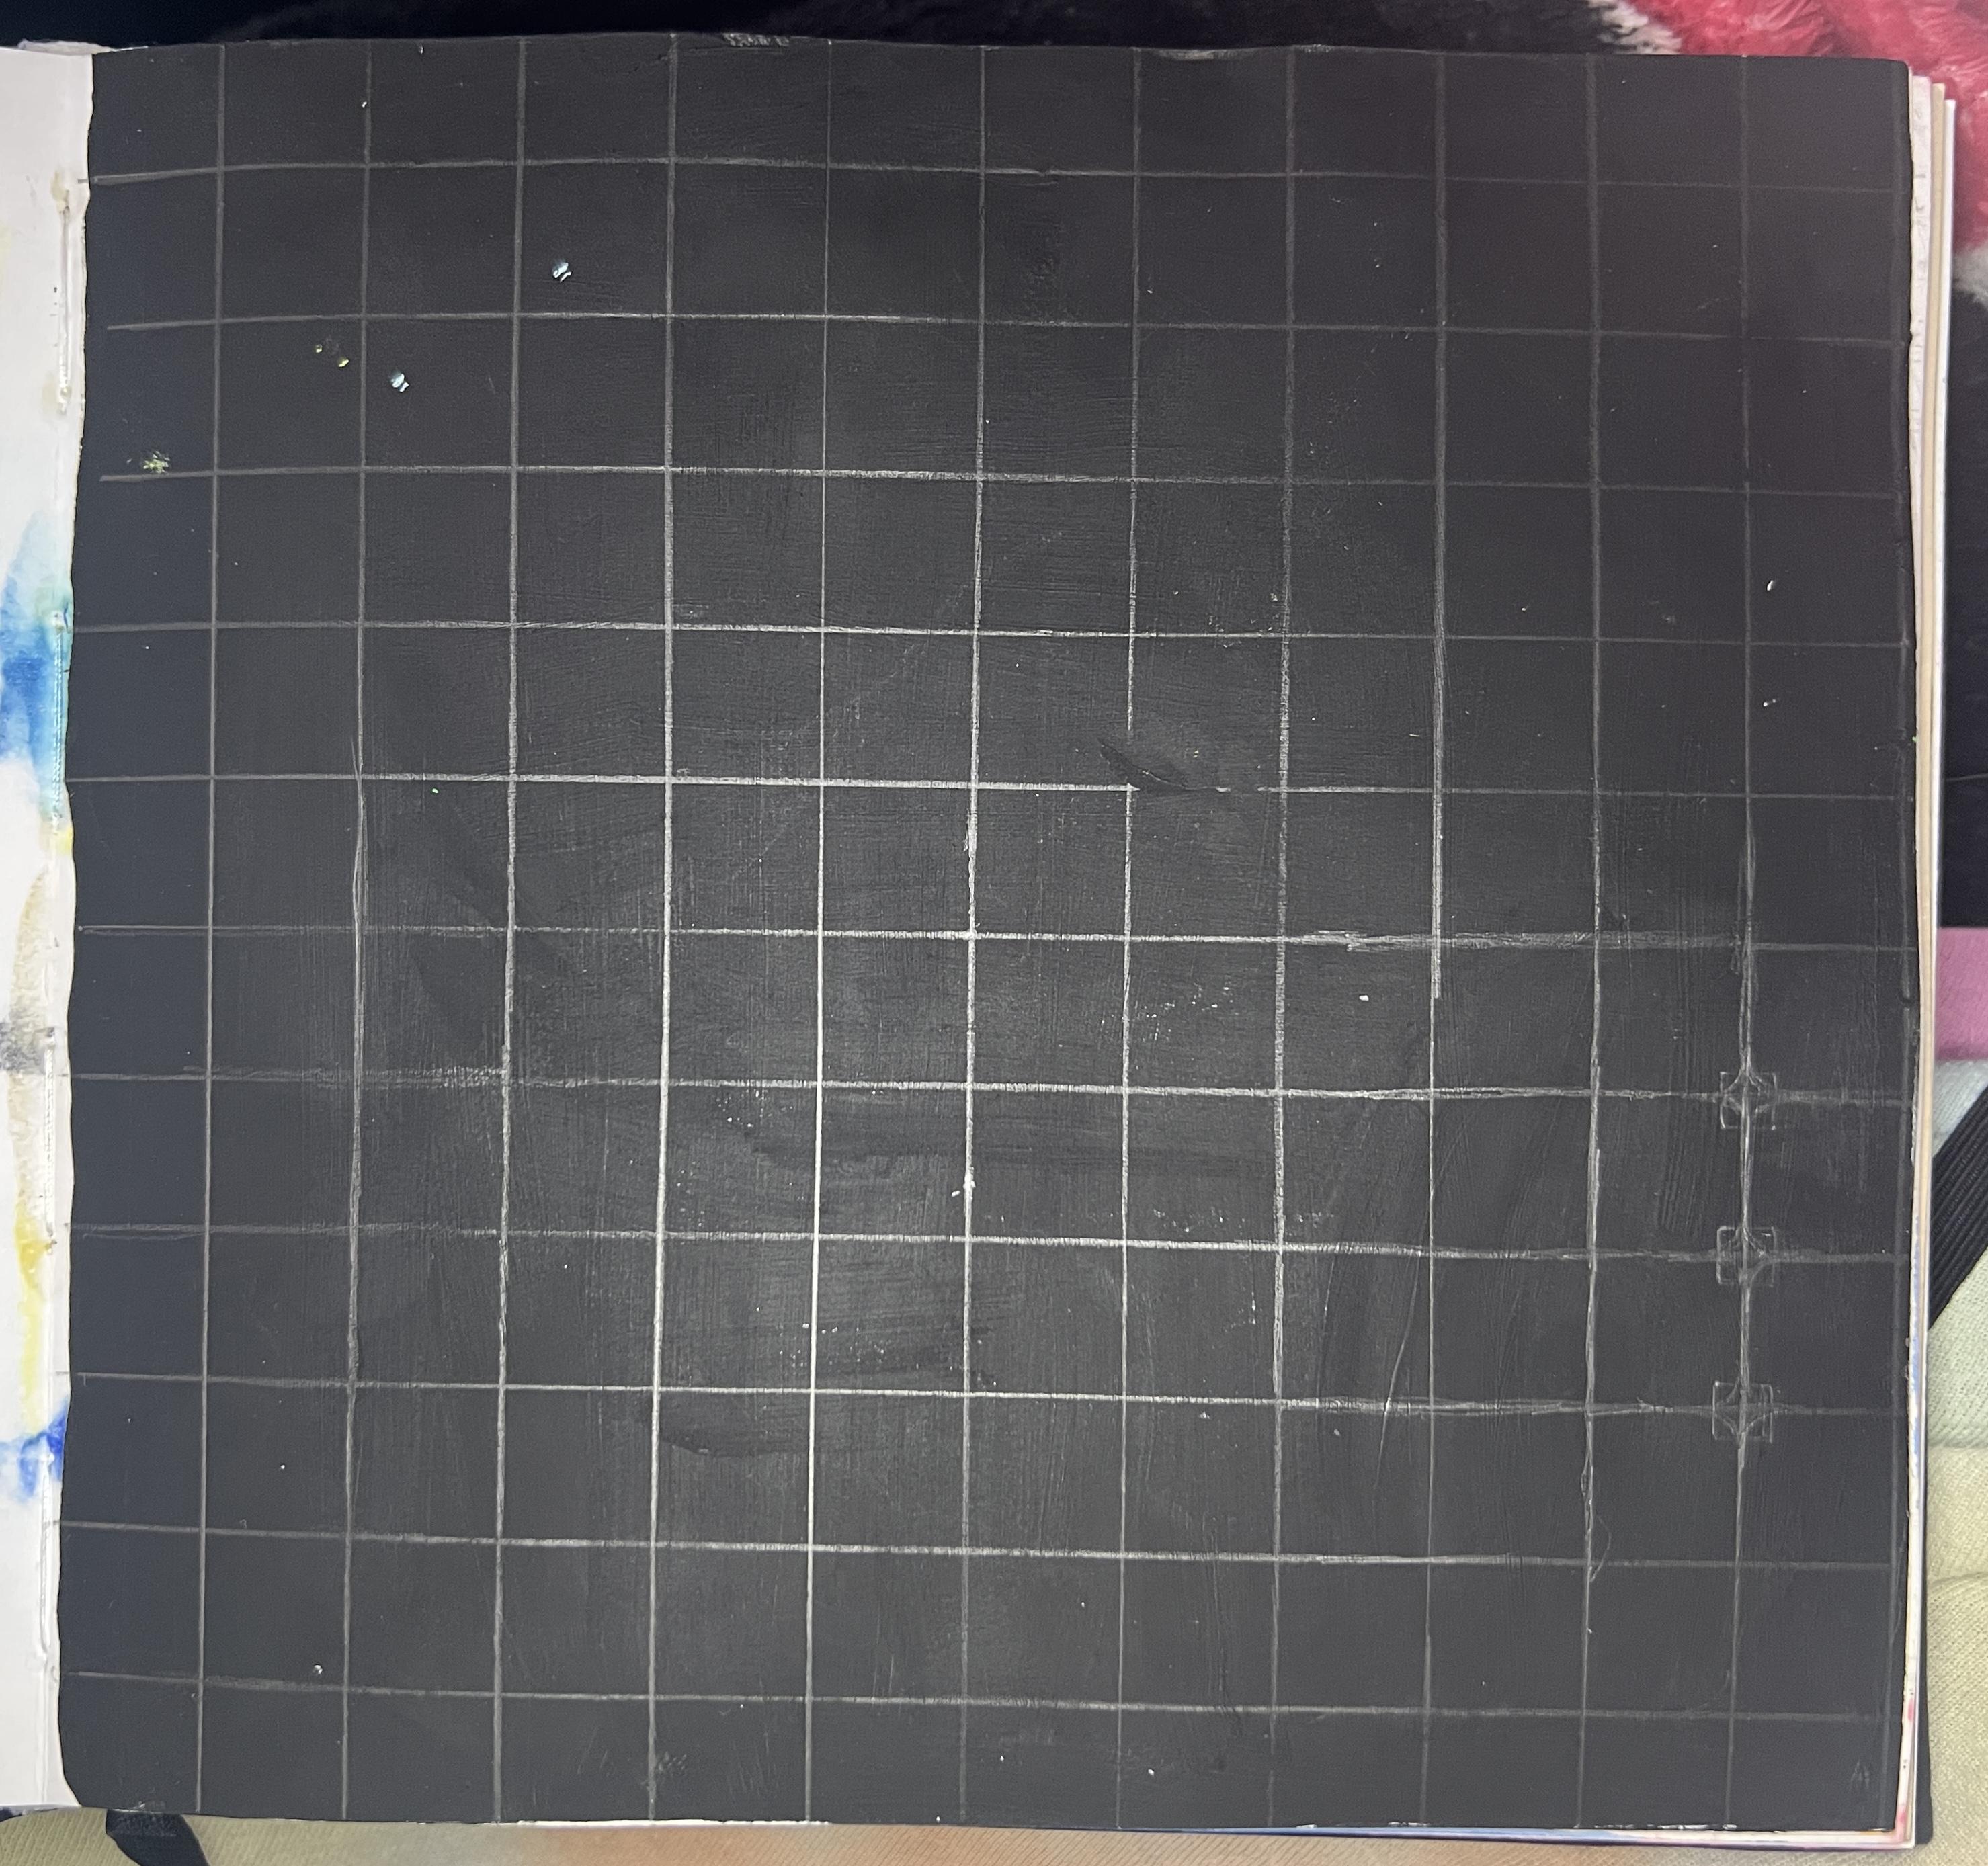
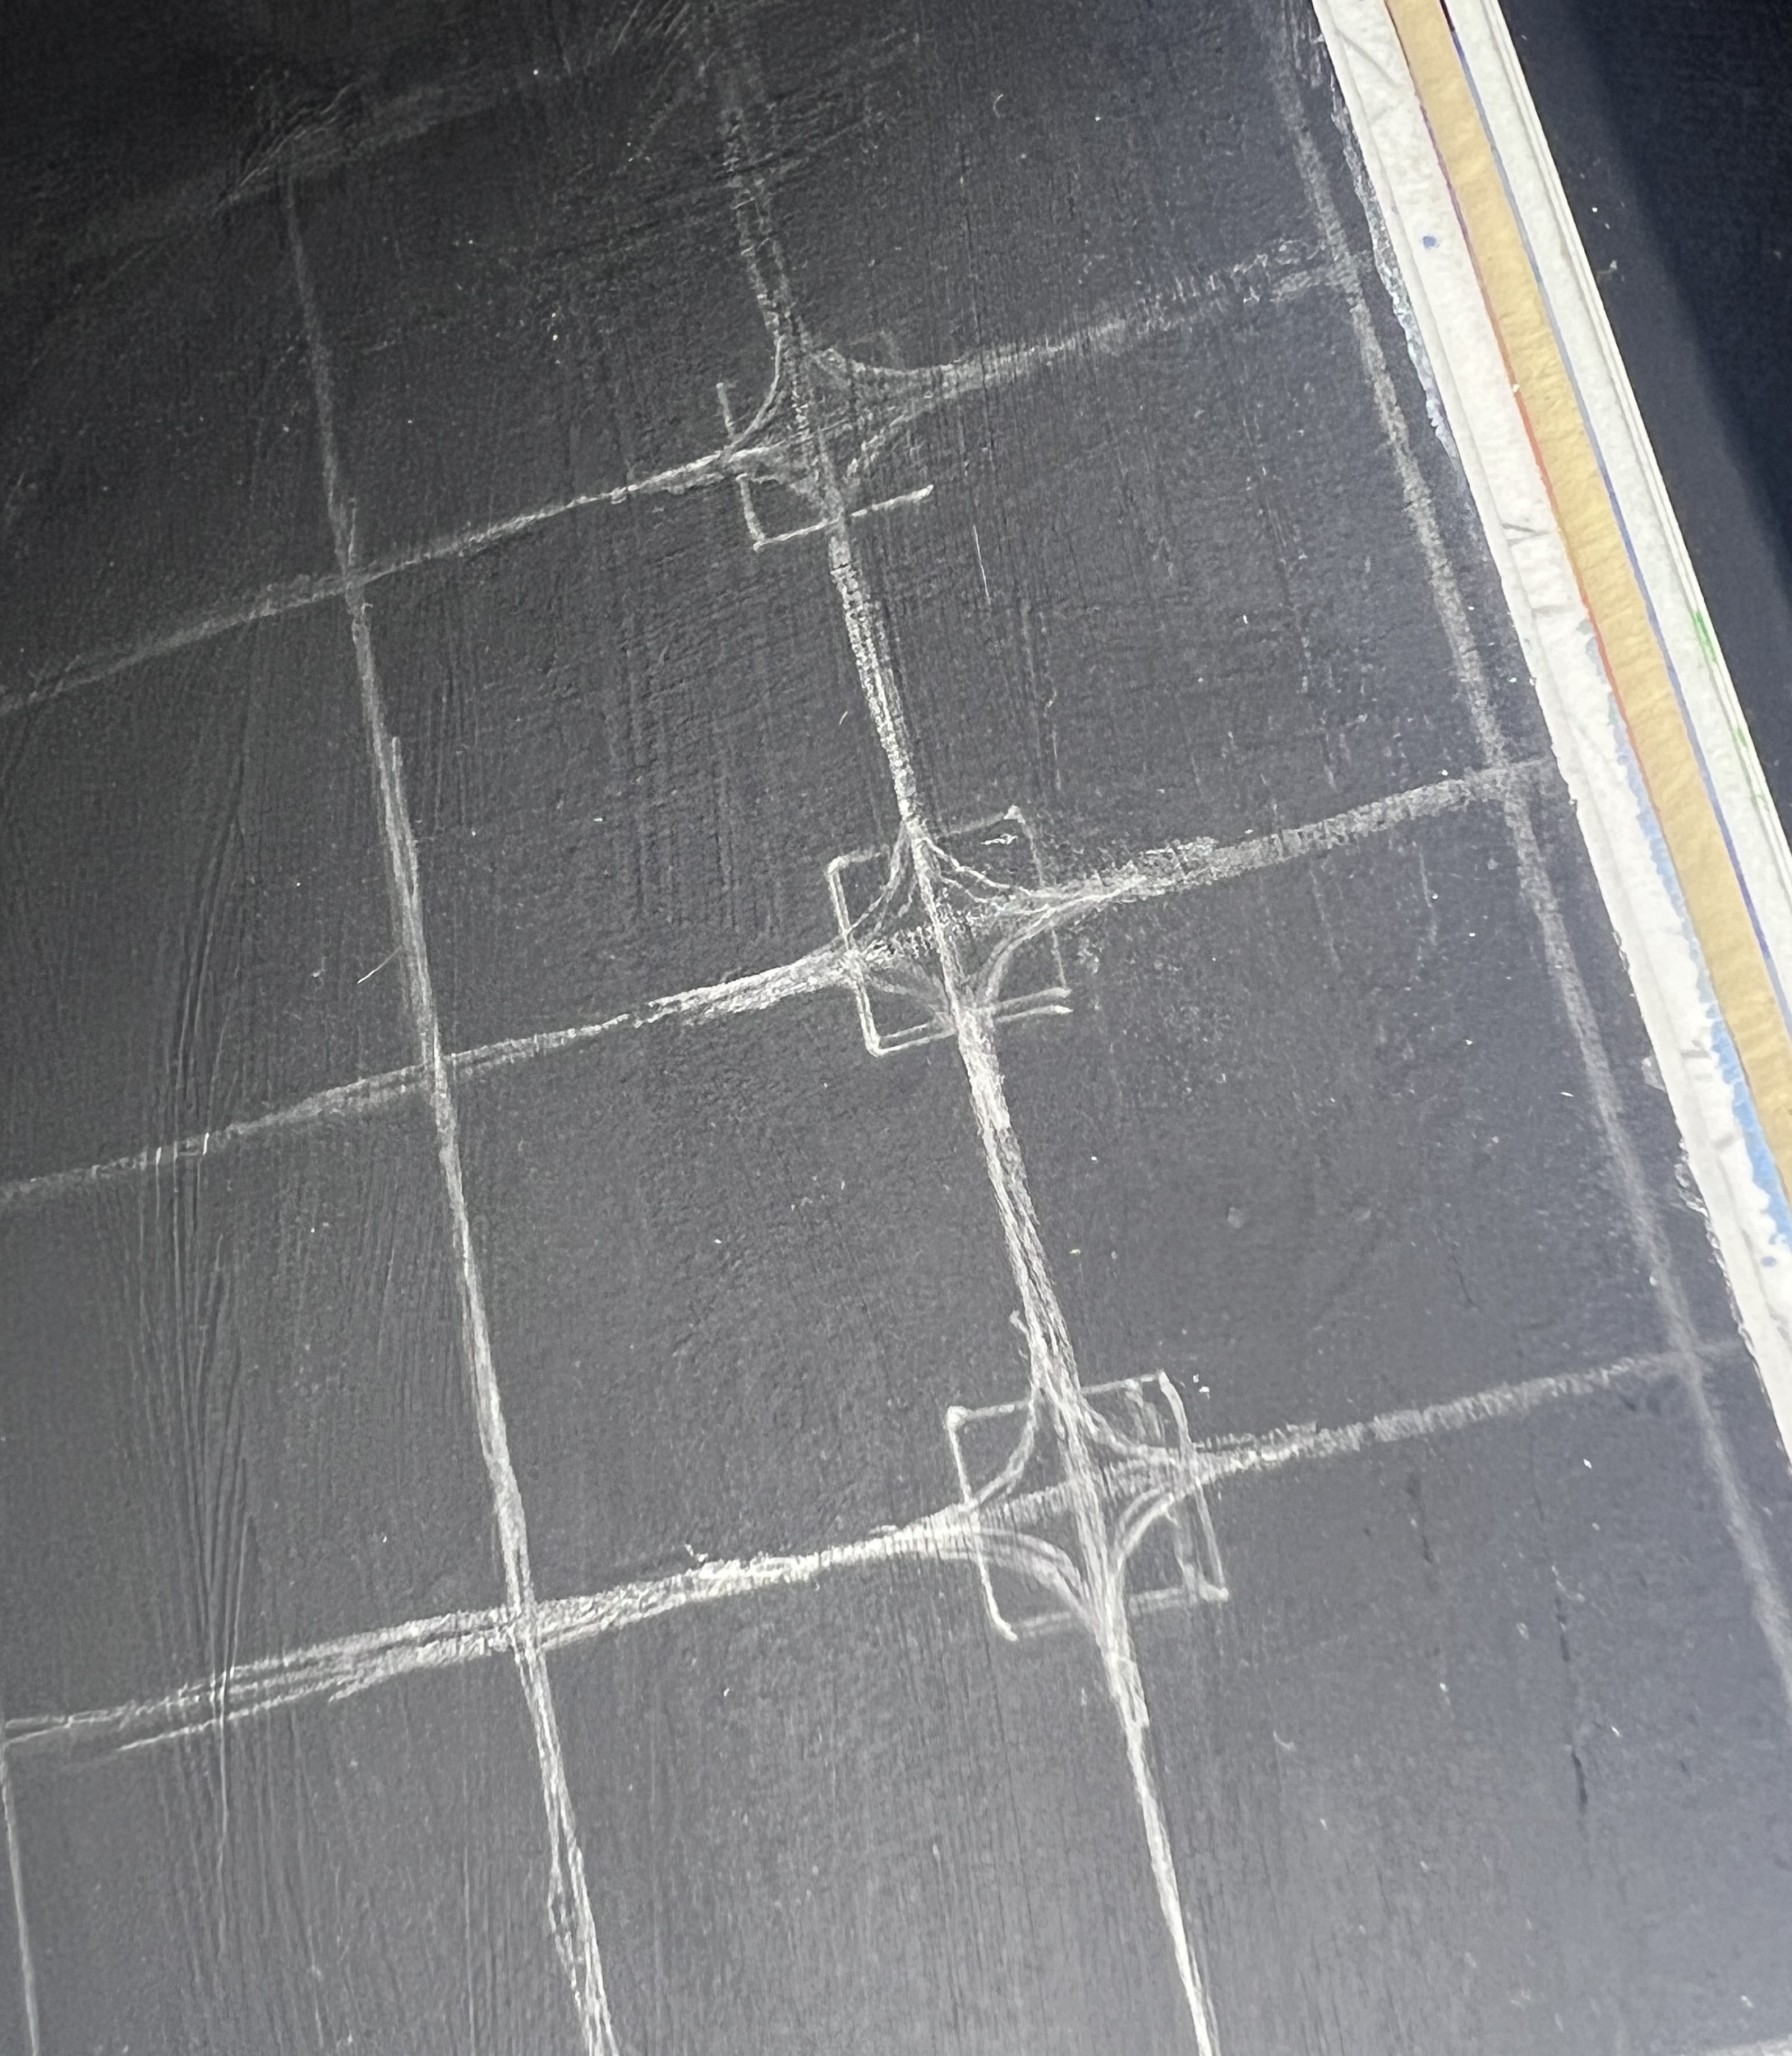
- I started by trying to freehand draw the rounded parts of the square in order to try and make things even. I drew some guidelines and used that to round the edges.
- There’s a major problem though…I still have no grout spacing planned. I think I was going to try and just stay within the box without touching the edges, but this isn’t realistic. I looked through my stencils and didn’t find anything with rounded edges that could fit these squares, so I bought one.
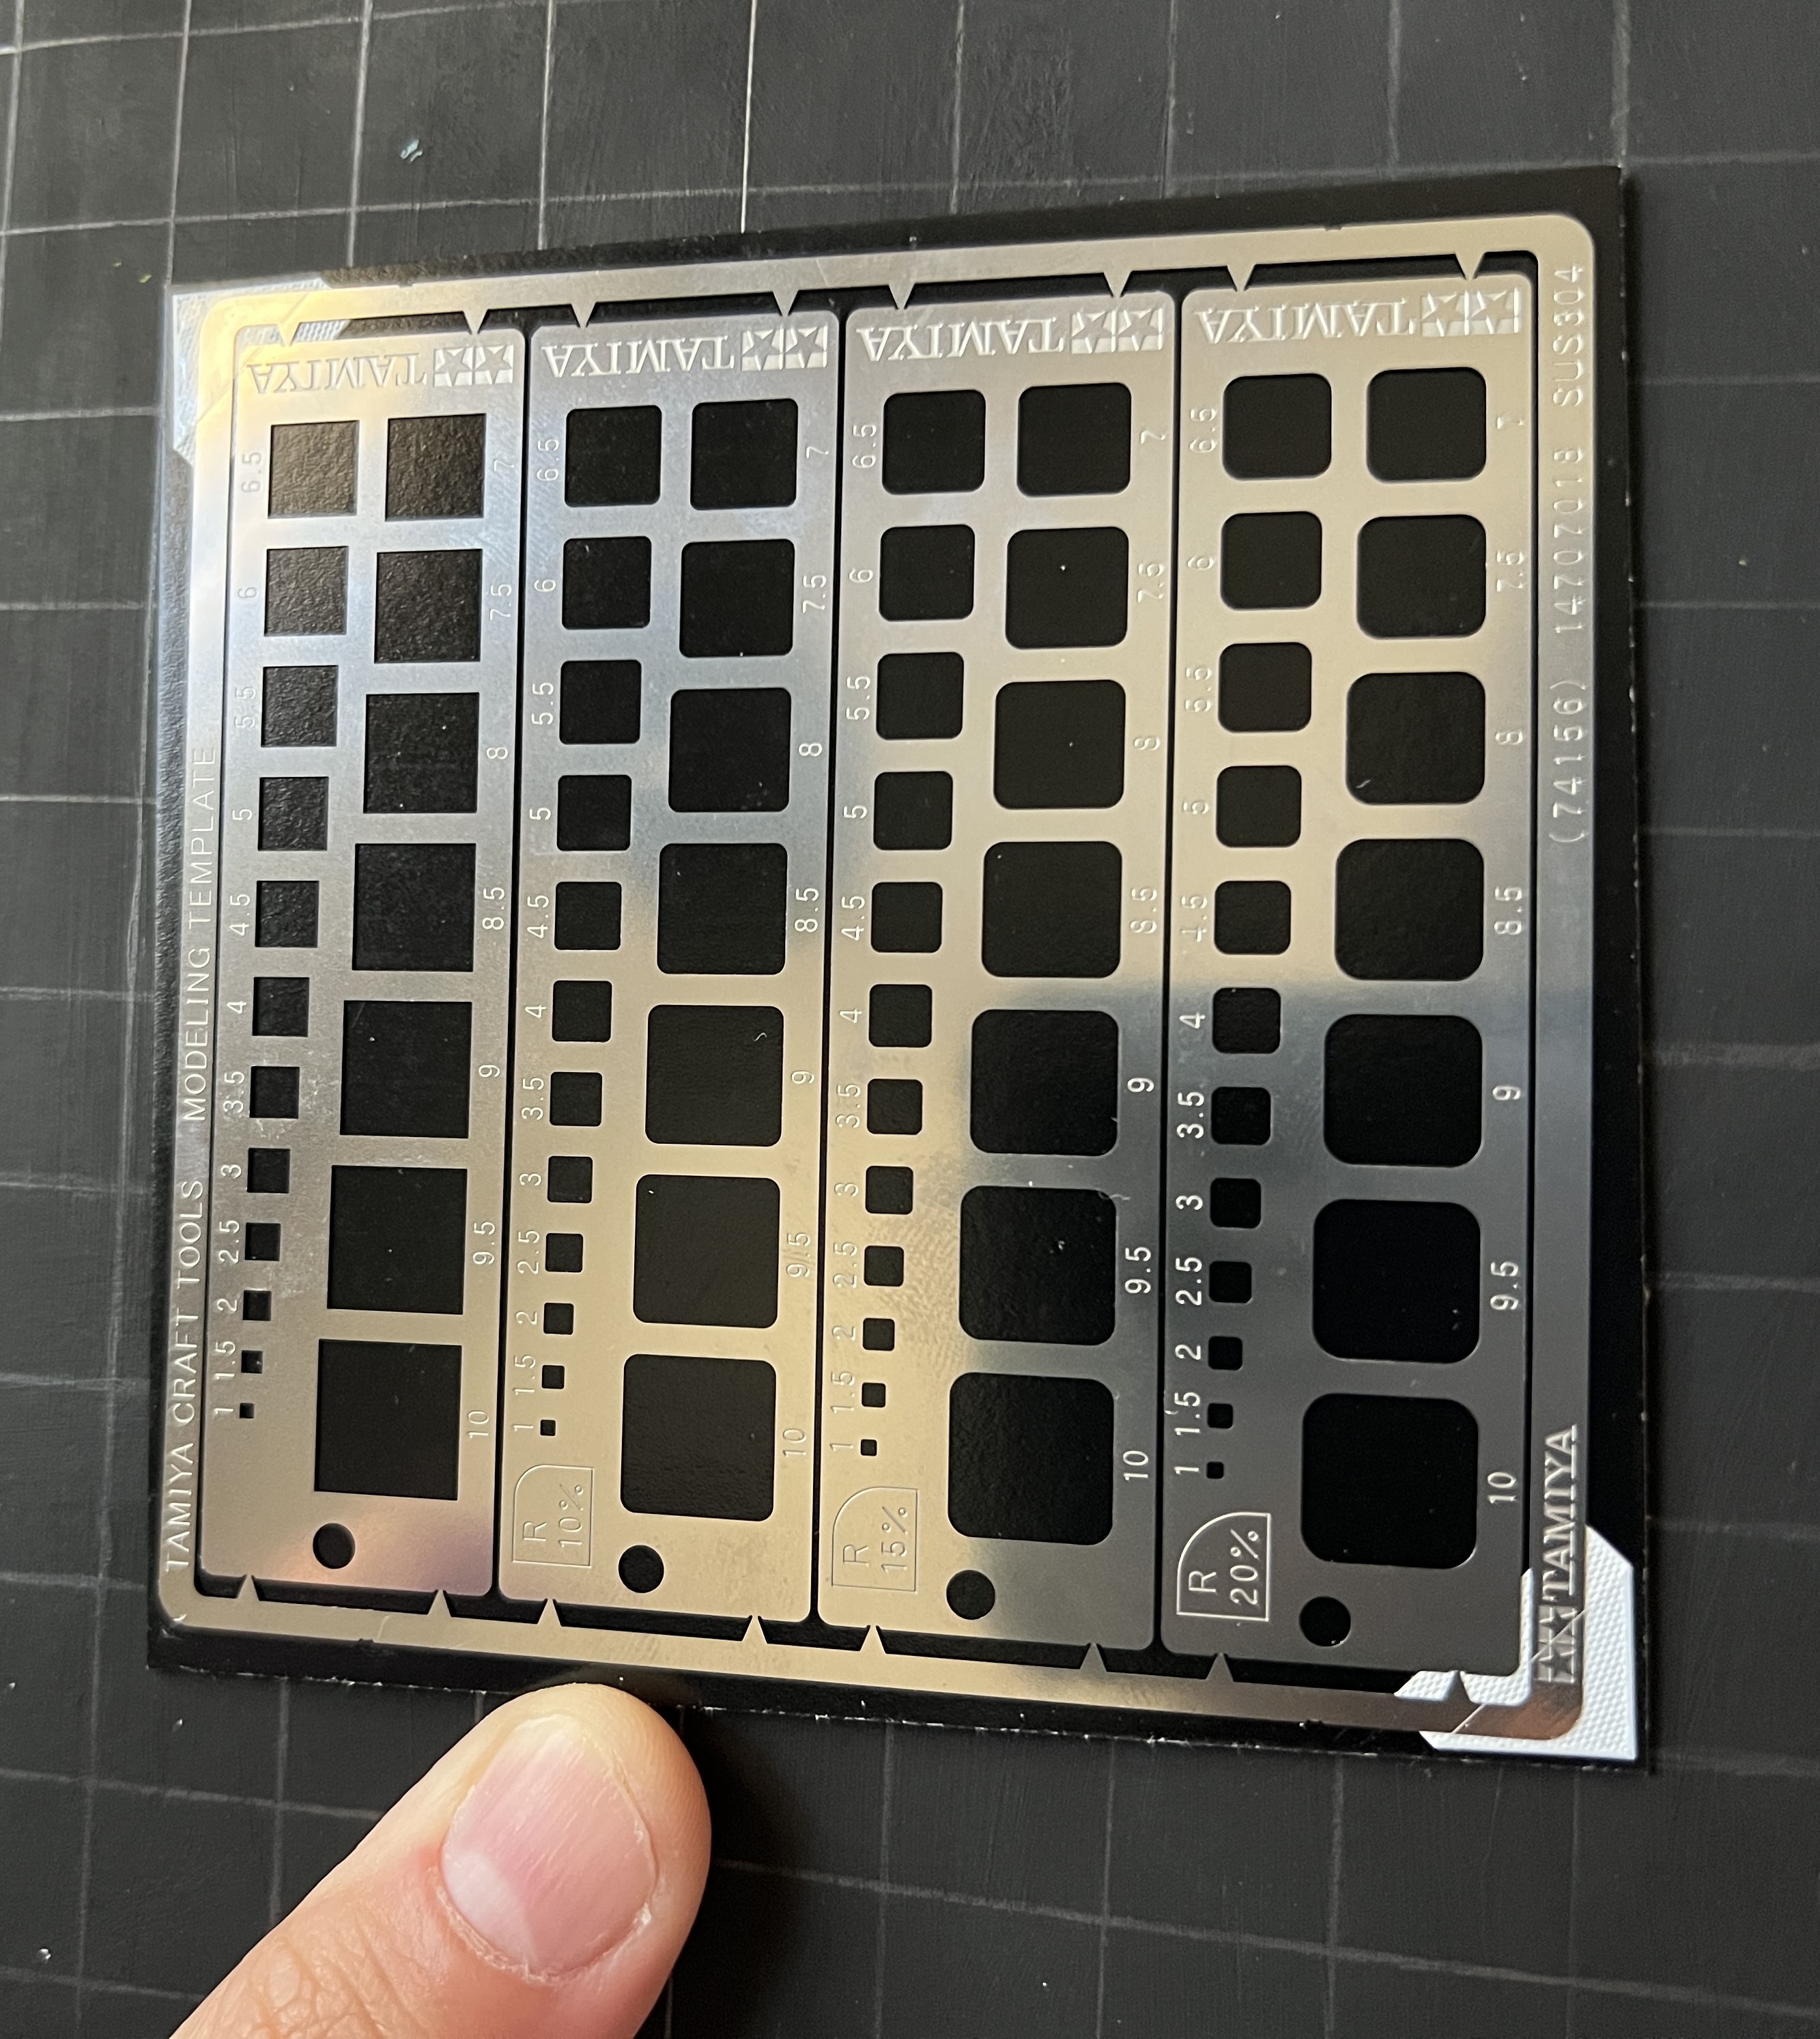
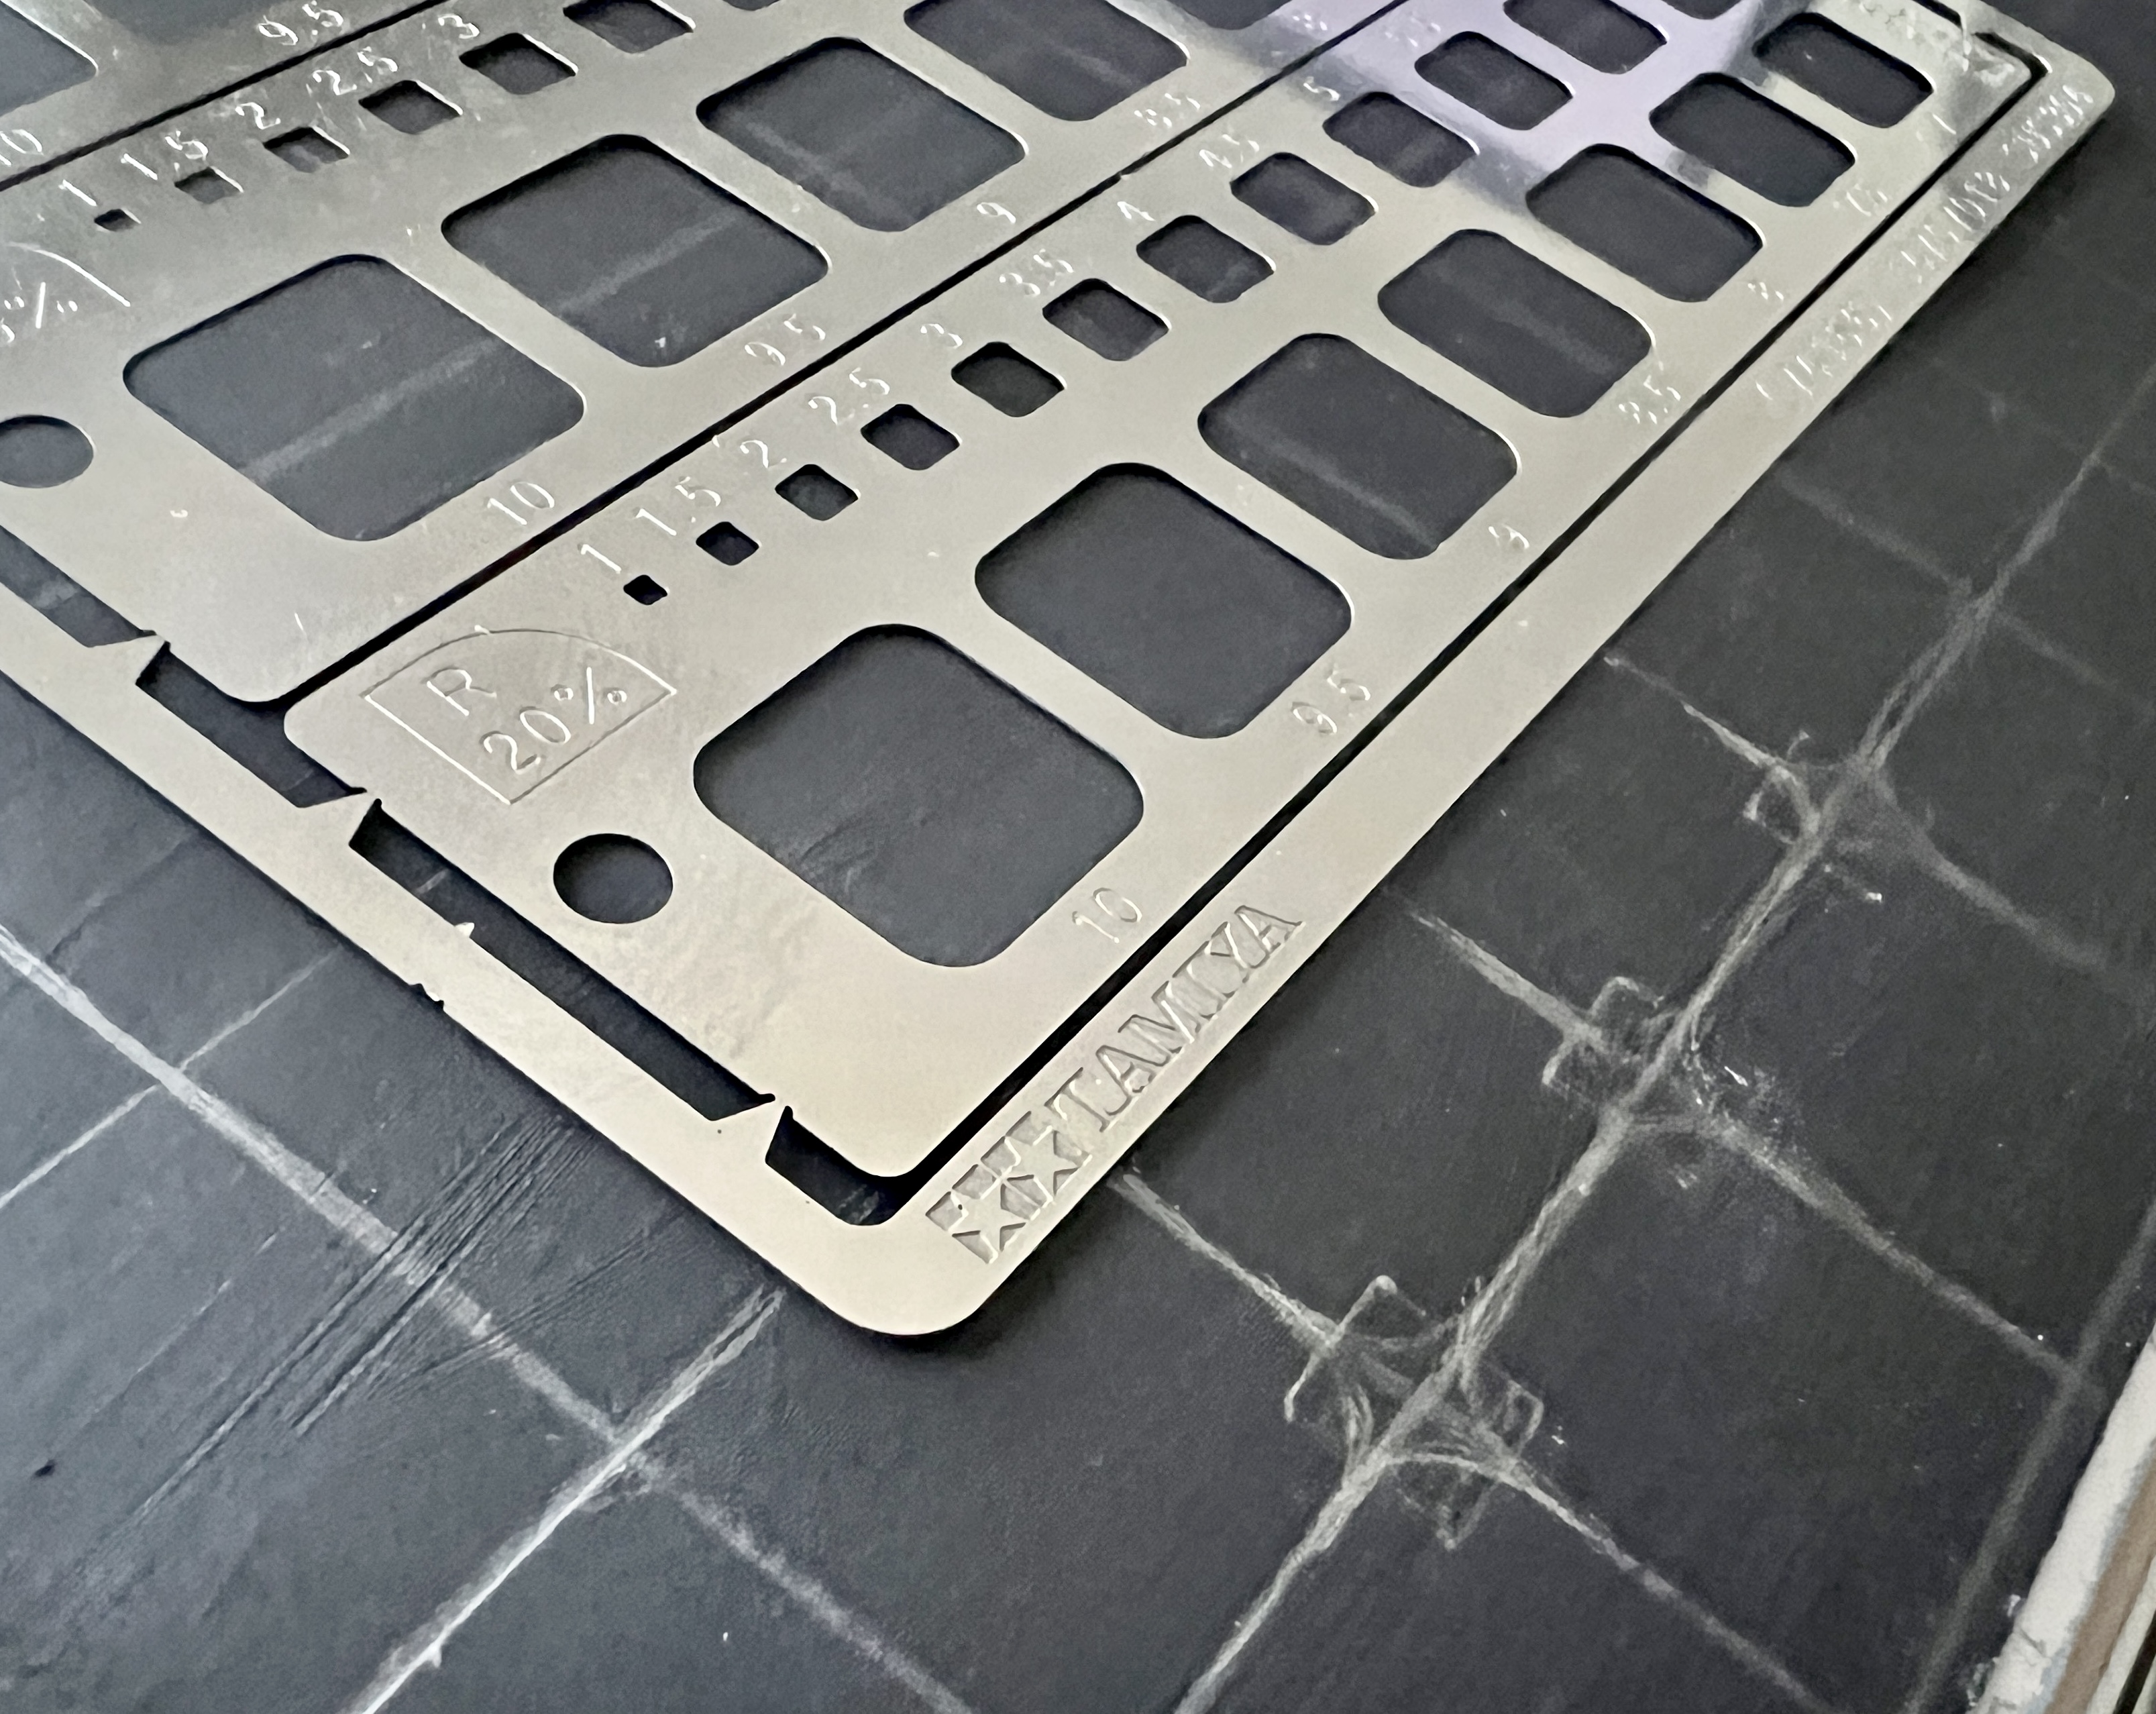
- I was surprise to actually find something and grabbed this little metal stencil on Amazon. However, it was too small compared to the 0.5 in squares I’d drawn. There was far too much space within. Gonna just scrap this version and redo the grid to fit the square size of the stencil.
- Beginning Of April - Started in the Doodle Anatomy Sketchbook…I don’t think it’s as even as I’d like it to be but it’s progressing. The way I did the grid with the ruler made it very difficult to reliably mark the center of each square. So I eye-balled it. I should never eyeball things, why do I always try to do this? I’m sure this will make things less even in future steps. But it’s done.
- The dots are necessary in order to center the stencil, because I can’t see behind it. I will still be careful about aligning the stencil but I’m positive this will create a very wonky tile. Will be interesting to see how this impacts my final impressions. Lots of potential to be very good or very bad.
- I was thinking of doing the tile to look like an RGB picker/spectrum. I think that would look really cool. Other ideas are rainbows and 70’s/retro inspired.
- I feel like I should lean into the imperfection. Maybe I can make a wrong color choice and miss place a tile in the wrong color section. I think that’d be fun. I’ll know I’ve succeeded if I can trigger OCD in others.
Completion Notes
- CONTENT
✵ Steps ✵
- [/] Draw tile
Supplies
| Material | What I Used | Notes |
|---|---|---|
| Pens & Inks | ||
| Alcohol/Acrylic/Water-based Markers | ||
| Colored Pencils | ||
| Gesso |
Color Palette
(placeholder image)
